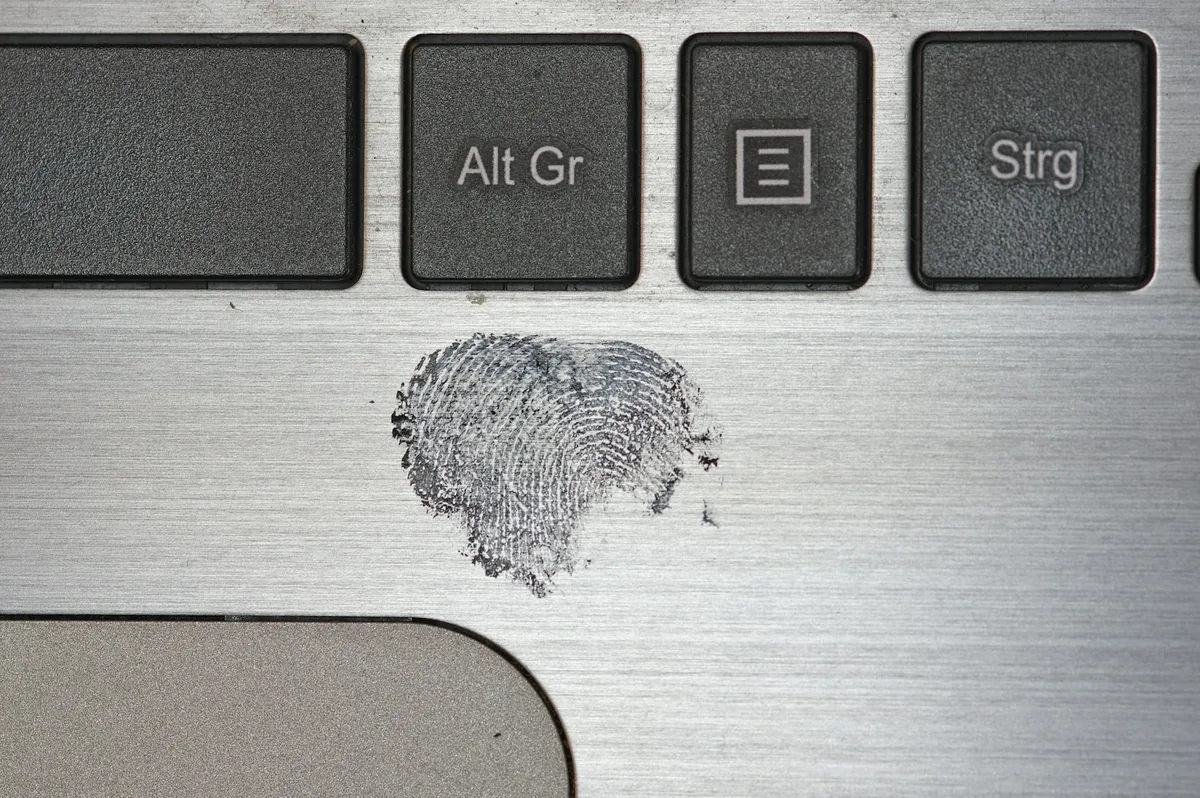
An estimated 8 million deepfakes floated around the internet in 2025, up from roughly half a million just two years earlier, by one industry estimate. Almost none of them will ever be checked by anyone. That gap, between how many fake images exist and how many actually get examined, is exactly where image forensics techniques earn their keep. The good news is that you don't need a lab or a computer science degree to run the most useful checks. You need to know which questions to ask a photo, and which free tools answer them.
What Image Forensics Techniques Can (and Can't) Tell You
Start with the honest version: image forensics rarely hands you a clean "fake" or "real" stamp. What it gives you is evidence. Each technique interrogates a different layer of the photo, the file data, the compression pattern, the pixel noise, the lighting, and flags anything that doesn't add up. Your job is to weigh those flags together.
It also helps to know the three broad ways a photo can be "fake," because different techniques catch different ones. A photo can be edited (something added, removed, or cloned). It can be fully synthetic (generated by an AI model). Or it can be authentic but misleading, a real image posted with a false caption, wrong date, or wrong location. That last category is the most common by a wide margin, and, frustratingly, the fanciest pixel analysis in the world won't catch it. A reverse image search will.
Start With the Metadata Hidden in Every File
Before you touch a single pixel, open the file's metadata. Every photo straight out of a camera or phone carries EXIF data: the make and model, lens, shutter speed, ISO, a timestamp, and often GPS coordinates. It also records the last piece of software that saved the file. If an image claims to be an untouched news photo but its metadata reads "Adobe Photoshop," that's worth a second look.
The fastest way in is ExifTool, the command-line standard, or any free EXIF viewer that takes a drag-and-drop upload. Look for mismatches: a timestamp that contradicts the story, GPS coordinates in the wrong country, an editing app in the software field, or a "date modified" that lands well after the "date taken."
Here's the catch, and it's a big one. Metadata is easy to strip or fake, and almost every social platform wipes it on upload. So missing metadata proves nothing on its own; an image can be perfectly real and still arrive naked. In my experience, metadata is a fast way to confirm a suspicion, not a reliable way to rule one out.
Error Level Analysis: Spotting the Seams in a JPEG
Error level analysis, or ELA, is the technique most people picture when they hear "photo forensics," and it's also the most misunderstood. The idea is simple. JPEG images lose a little detail every time they're saved. When you resave a JPEG at a known quality and compare it to the original, regions that have been through a different number of save cycles (say, a face pasted in from another photo) often show up at a different brightness than their surroundings.
Tools like FotoForensics and Forensically run ELA in your browser: drop in an image and it renders a version where edited regions can pop against a darker background. A sharp, bright rectangle around an object where the rest of the image is uniform is a classic tell of a paste-in.
Now the warning every serious analyst repeats: ELA is easy to over-read. It shows differences in compression, not manipulation itself. High-contrast edges, text, and busy textures light up brightly even in a completely untouched photo, and heavily recompressed images (anything that's been shared a few times) can wash out the signal entirely. A common mistake I notice is people treating a bright patch as a smoking gun. It isn't. It's a hint that tells you where to look closer.
How Clone Detection Catches a Copy-Paste
Clone detection, sometimes called copy-move detection, hunts for regions inside a single image that are suspiciously identical. Editors use the clone and healing tools constantly: to duplicate people in a crowd, extend a background, or paint over something they want gone. When they do, they leave two or more patches that match a little too perfectly.
The algorithm chops the image into small overlapping blocks, describes each one as a set of numbers, and looks for blocks that match at different positions. Forensically's clone detector highlights those matches and draws lines connecting them, so a duplicated cloud, a repeated cobblestone, or a copied face jumps right out.
This one has a lower false-alarm rate than ELA, but natural repetition (a brick wall, rippling water, a row of identical windows) can still trip it. As always, a match is a lead, not a verdict.
Noise Analysis and the Fingerprint Every Camera Leaves
Every camera sensor adds a faint, characteristic noise pattern to its images, a kind of fingerprint that stays consistent across a single photo. When someone splices in a region from a different source, that region usually carries different noise. Noise analysis strips away the picture and leaves the noise behind, so mismatched patches become visible.
In Forensically's noise analysis view, a pasted object often shows up as an area that's too smooth or too grainy compared to everything around it. AI-generated regions tend to have their own unnatural noise signature too, which makes this a handy cross-check against synthetic content. It's especially good at catching edits that ELA misses on heavily compressed images.
What Shadows and Reflections Give Away
Software can fake a lot, but it struggles with physics. In a real scene, every shadow points away from the same light source, highlights fall on the same sides of objects, and reflections in eyes, glasses, and water match what's actually in the frame. Composites and AI images routinely get these subtle relationships wrong.
You can do a surprising amount by eye. Trace the shadows: do they all agree on where the sun or lamp is? Check the catchlights in a person's eyes; they should reflect the same light sources from the same directions. Look at reflective surfaces for objects that should appear and don't. When a subject looks pasted onto a background, mismatched lighting is often the reason your gut says "off" before you can explain why.
Reverse Image Search: The Check Almost Nobody Does First
This is the single highest-value check on the list, and it takes about ten seconds. Before you run any pixel analysis, drop the image into a reverse image search. Google Lens, TinEye, and Yandex each catch things the others miss. You're looking for where else this picture has appeared, and when.
Why start here? Because most "fake" images aren't edited at all. They're authentic photos ripped out of context: a real protest from 2015 passed off as this week's, a stock photo sold as breaking news, a film still shared as a genuine event. No amount of ELA will flag those, but a reverse search that surfaces the original, older and correctly captioned, ends the investigation on the spot.
Most "fake" photos aren't edited at all. They're real pictures wearing the wrong caption.
Detecting AI-Generated Images (This One Keeps Getting Harder)
Detecting fully synthetic images is the fastest-moving corner of the field, and honestly the hardest. The old visual tells (warped hands, mangled text, mismatched earrings, garbled backgrounds) are disappearing fast as diffusion models improve. The tics you learned to spot last year may be gone this year.
That number is the whole argument for using tools instead of your eyes. Purpose-built detectors like Reality Defender and other classifier-based services analyze frequency patterns and generator artifacts that humans can't perceive. They're useful, but be clear-eyed about their limits: they're probabilistic, they return a likelihood rather than a verdict, and their accuracy drops on real-world images that have been compressed and re-shared. One 2024 evaluation of commercial detectors found accuracy fell to around 78 percent on in-the-wild content, well below the numbers you see in controlled lab tests.
There's also a longer-term fix taking shape, and it flips the whole approach. Instead of detecting fakery after the fact, provenance standards like C2PA (the Content Credentials you'll see attached to images from Adobe tools and a growing list of cameras) cryptographically sign a photo at capture and log every edit. When an image carries valid credentials, you can check its history directly rather than guessing from pixels. Adoption is still patchy, so it won't help with most images you meet today, but it's the direction the industry is moving.
If you want a fast first pass on whether an image might be AI-generated, run it through the free detector on this site before you go deeper. Treat the result as one data point, not the final word, then back it up with a noise check and a reverse image search.
Your Free Image Forensics Toolkit, and What to Open First
You can assemble a capable image forensics setup without spending anything. Here's the short list I keep bookmarked, and the order I actually use them in.
Reverse image search (Google Lens, TinEye, Yandex) comes first, always, to catch out-of-context reuse. ExifTool or a browser EXIF viewer handles metadata. Forensically is the workhorse: it bundles ELA, clone detection, noise analysis, a magnifier, and a metadata reader on one page. FotoForensics is a solid second opinion for ELA and file structure. For deeper JPEG internals, JPEGsnoop reads the compression tables. And for synthetic-image screening, a dedicated AI detector fills the gap the others leave. Professionals reach for paid suites like Amped Authenticate, but you'll get a long way before you need one.
The workflow matters as much as the tools. My default order is reverse search, then metadata, then a broad pixel pass in Forensically, zooming in on anything odd with the magnifier and running ELA, clone, and noise views in turn. Cheap checks first, expensive scrutiny only where the cheap checks raise a flag.
The One Rule That Matters More Than Any Tool
If you remember nothing else, remember this: no single technique proves a photo is fake. Every method here produces evidence, not a verdict. ELA finds compression differences. Clone detection finds repetition. Metadata tells a story that can be rewritten. Each one can be fooled, and each one throws false alarms on perfectly real images.
So you build a case. You run several independent checks and look for agreement. When ELA, noise analysis, and a lighting inconsistency all point at the same region, that's a strong signal. When only one does, you keep an open mind. Analysts get burned when they fall in love with a single dramatic-looking result and stop there.
No single forensic test proves a photo is fake. It just adds a line to the case you're building.
Questions People Ask About Image Forensics
Can I really tell if a photo is fake without special software?
Is error level analysis reliable?
What's the best free tool for beginners?
How do I detect AI-generated images specifically?
Where to Go From Here
Image forensics isn't magic, and it isn't gatekept. It's a handful of questions you learn to ask a photo, backed by free tools you can open in a browser tab: check the context, read the file, inspect the pixels, trace the light, and never lean on a single result. Build the habit of running those checks and you'll catch more than most people ever will.
The best way to build the instinct is to practice on images you already doubt. Next time something in your feed looks off, don't just scroll past; run it through a reverse image search and the free detector on this site, and see what turns up. A few dozen reps and the whole process stops feeling like work and starts feeling automatic.