Upload a photo straight off an iPhone to most image forensics tools and it will refuse to open it. Convert it to JPEG so the tool cooperates, and you have quietly erased most of what you came to look for. That trade sits at the center of HEIC, AVIF, and WebP forensic analysis, because these formats were designed around compression efficiency, not around the techniques we spent two decades building on JPEG. The evidence has not disappeared. It moved.
Why Your ELA Map Goes Quiet on a Modern Image File
Error Level Analysis is not failing you on these files. It is doing exactly what it was designed to do, and what it was designed to do is measure JPEG. ELA resaves an image at a known quality, subtracts the result from the original, and looks for regions that changed more or less than their neighbors. It works because JPEG chops every picture into the same rigid 8x8 grid and quantizes each block the same way, so a region that has been through the encoder a different number of times settles at a different error floor.
HEVC (inside HEIC) and AV1 (inside AVIF) refuse to cooperate with that assumption. Neither uses a fixed grid. Block sizes adapt to the content, from 64 pixels across down to 4, so there is no consistent lattice for the error to line up against. Then both codecs run in-loop filters before the picture is ever written to disk: deblocking plus sample adaptive offset in HEVC, deblocking plus CDEF and loop restoration in AV1. Those filters exist specifically to smooth away block edges, which are the exact discontinuities ELA leans on.
Converting first makes the problem worse, not better. ELA implementations compare an image against JPEG compression by definition, so when you save a HEIC as JPEG and scan the result, the JPEG artifacts are being applied for the very first time. The map comes back flat and uniform, the signature of a clean single-save file, whether or not the original was edited to pieces.
In my own side-by-side tests the converted copy looked more innocent than the untouched original JPEG did: a heavily edited HEIC containing cloned objects and composited regions produced an almost featureless ELA map immediately after JPEG conversion, while the native JPEG version of the same scene still showed localized compression differences.
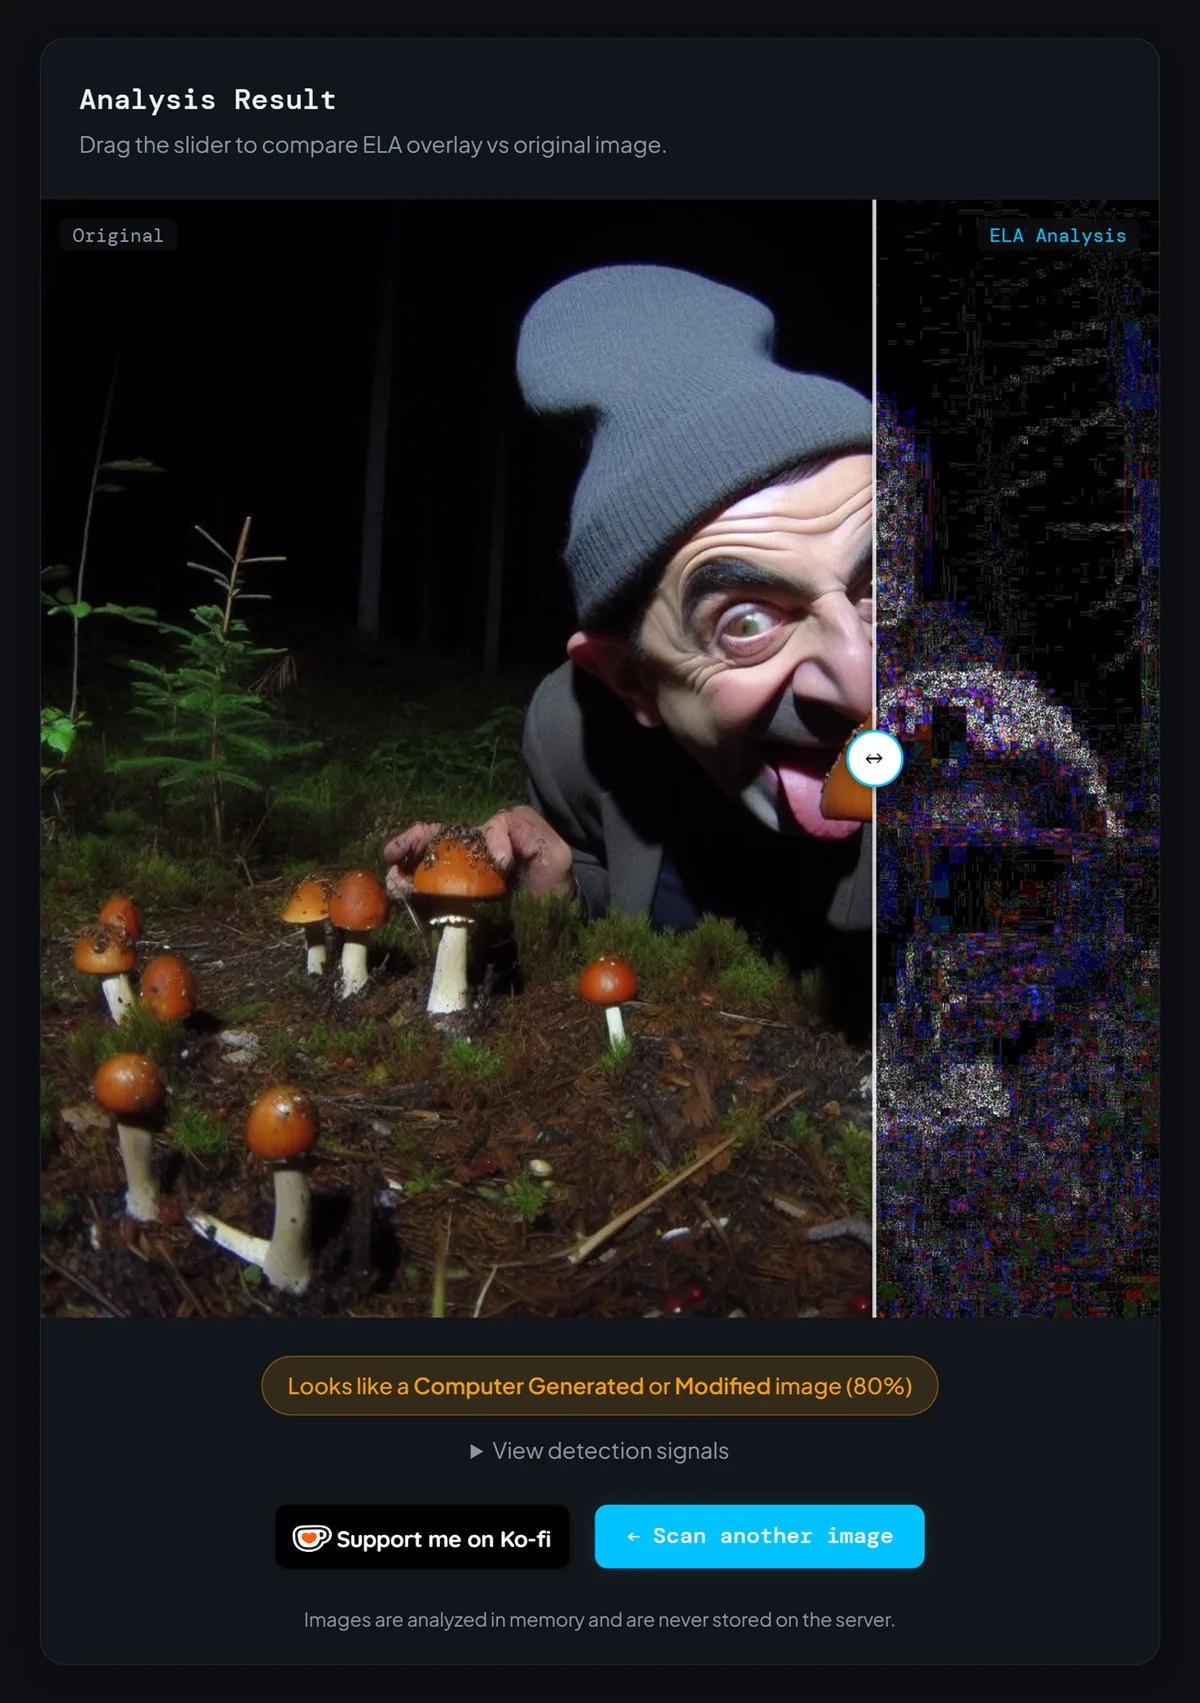
Run ELA on a converted HEIC and you are analyzing your own conversion, not the photographer's edit.
What HEIC, AVIF, and WebP Actually Do to Your Pixels
Three formats, two container families, three codecs, and not one of them behaves like JPEG. A HEIC file is a single still frame of HEVC video wrapped in the ISO Base Media File Format, the same box structure that holds an MP4. An AVIF file is an AV1 keyframe in that same container family. A WebP file is a VP8 (lossy) or VP8L (lossless) bitstream sitting inside a RIFF container, the generic chunk format that also holds WAV audio and AVI video.
Those differences change what survives. HEIC and AVIF handle 10-bit and 12-bit depth, alpha, HDR gain maps, and multiple images in one file. Lossy WebP is 8-bit and 4:2:0 only, capped at 16,383 pixels per side, using 16x16 macroblocks with a 4x4 transform and its own loop filter. Lossless WebP is a different animal entirely: it stores exact RGBA values, which means a JPEG resaved as lossless WebP keeps every one of its original 8x8 blocking artifacts intact in the pixel data. Grid-based analysis still finds them. Save that same JPEG as lossy WebP and VP8 smears the grid into its own block structure.
That trend is the reason this matters now rather than later. The share of files arriving in your inbox that respond properly to JPEG-era tooling shrinks every year, and phone cameras have been writing HEIC by default since 2017. A workflow that assumes JPEG is quietly becoming a workflow that assumes the past.
Where EXIF Hides Inside a HEIC or AVIF Container
When a tool reports "no metadata" on a HEIC or AVIF file, the far more likely explanation is that the tool cannot read the container. There is no APP1 marker segment sitting near the front of the file the way there is in a JPEG. Everything inside a HEIF-family container is an item, declared in a meta box: iinf lists what items exist, iloc records where each one's bytes actually live, and pitm names which item is the primary image. EXIF is just another item in that list, and its payload starts with a small offset field before the TIFF header that most parsers expect to see immediately.
A parser written against JPEG's structure walks in, finds no marker segment, and reports a clean file. That is a false negative, not a finding. Use exiftool or exiv2, both of which parse HEIF and AVIF properly, or the tooling that ships with libheif. And read the whole item list rather than just the tag values, because which items exist is evidence in its own right.
XMP rides along as its own separate item too, and that is usually where editing software leaves its fingerprints. Photoshop, Lightroom, and most mobile editors write a processing history there that survives operations which strip or overwrite EXIF. A common mistake I notice is analysts checking EXIF, finding it plausible, and never opening the XMP packet sitting three items away.
WebP Keeps Its Metadata Somewhere Else Entirely
WebP stores metadata in named RIFF chunks, and only in the extended version of the format. A simple WebP file is a twelve-byte header followed by a VP8 or VP8L chunk, and it has nowhere legal to put EXIF at all. Metadata requires a VP8X chunk, whose flag byte declares which optional pieces are present: ICC profile, alpha, animation, EXIF, XMP. The actual data then sits in chunks named ICCP, EXIF, and XMP after the pixel payload.
That flag byte is the fastest triage signal in the whole format. If it reads zero, or if there is no VP8X chunk at all, the file passed through a pipeline that discarded everything, which is exactly what a browser's "save image as" and most CMS re-encoders do. Converters built on cwebp or sharp usually copy EXIF and XMP straight across from the source, so a WebP still carrying GPS coordinates and a capture timestamp tells you which route it took to reach you. Neither result proves anything about manipulation. Both tell you a great deal about handling history.
One iPhone HEIC Can Hold Fifty Images You Never See
A 4032x3024 photo from an iPhone is not stored as one coded image. Apple splits it into 512x512 tiles, 48 of them at that resolution, each one its own HEVC item, reassembled at display time by a derived grid item that describes the layout. Add a separately encoded 320x240 thumbnail and an EXIF item, and the item list runs past fifty entries for a single visible photograph.
Two of those hidden items are worth your attention. The embedded thumbnail is an independent encode, so if someone edited the primary image with software that did not regenerate it, the thumbnail still shows the original scene. This is the same trick analysts used on JPEG thumbnails for years, and almost nobody applies it to HEIC. Extract the thumbnail item, blow it up, and compare it against the main image.
The second is depth. Portrait mode writes a depth map as an auxiliary image with its own XMP describing it. A file claiming to be an iPhone portrait with no depth item is worth a second look, and a depth map whose edges do not line up with the visible subject is worth a very long look. Neither check is possible after conversion, because a flattened JPEG or PNG copy has no items at all. It has one image, and that image is the only thing left to examine.
AVIF's Film Grain Trick Can Fake Sensor Noise
The noise you see in a decoded AVIF may never have existed in the file. AV1 includes film grain synthesis: the encoder denoises the picture, fits an autoregressive model to the noise it removed, ships a few bytes of parameters in the bitstream, and the decoder repaints statistically matched grain onto the output. Unlike the optional grain messages in H.264 and HEVC, this step is mandatory in AV1 whenever the parameters are present, which means every conforming decoder does it.
For forensics that is a real problem. Any technique built on noise is affected: PRNU camera matching, noise residual AI detectors, and local noise inconsistency maps all assume the noise came from a sensor. Synthetic grain is uniform across the frame by construction, so a spliced region inherits the same grain model as everything around it. The inconsistency you were hunting gets painted over during decode.
Noise the decoder painted on after the fact tells you nothing about the camera that took the photo.
There is an upside, though, because the presence of grain parameters is itself a finding. Decode the file twice, once normally and once with grain synthesis turned off (dav1d exposes a switch for this and FFmpeg passes it through), then compare the two outputs. If they differ, the grain is synthetic, the file went through an AV1 encoder tuned for grain, and you should stop trusting any noise-based result on that image.
How to Convert HEIC and AVIF Without Destroying the Evidence
Convert to PNG, not JPEG, and treat the conversion as a documented step rather than a chore. Most analysis tools, this one included, accept JPG, PNG, BMP, TIFF, and WebP but do not handle HEIC or AVIF yet, so conversion is often unavoidable. The aim is to make it repeatable: anyone else running your command on your original should land on identical bytes.
PNG matters because it is lossless. Every artifact the original codec left in the pixels survives the trip, so block structure, resampling traces, and splice boundaries stay analyzable. Going to JPEG instead layers a fresh set of 8x8 artifacts on top of the evidence and, as covered earlier, hands your ELA pass a brand new compression history to measure. Quality 100 does not save you here, because the damage is structural rather than a question of how much detail is thrown away.
Once you have that PNG, you can run it through a full scan without the JPEG round trip. The metadata layer reads whatever exiftool carried across, the AI detection and provenance layers work on the pixels and any surviving credentials, and the ELA map is at least being generated from lossless input rather than from a copy you already degraded. Upload the PNG rather than a JPEG version and you keep one avoidable compression pass out of the results.
What Still Works When ELA Doesn't
Container structure has become the new compression history, and it is more informative than most people expect. Box order, the brand declared in ftyp, the number and type of items, the difference between the stored image size in ispe and the displayed crop in clap, whether an ICC profile is present, what the XMP history says: each of these is set by whichever tool wrote the file last. Read them together and you get a fingerprint of the software chain rather than a guess about the pixels.
Encoder fingerprints deserve particular attention. The same scene encoded by an iPhone camera, by libheif on a desktop, and by an Android pipeline produces visibly different box layouts, different tiling strategies, and different default item arrangements. When a file's EXIF claims an iPhone origin but its container looks like a desktop converter's output, the container is telling you something EXIF cannot, and EXIF is the half that anyone can rewrite in thirty seconds.
Provenance data now outranks artifact analysis for a growing share of files. C2PA manifests embed in HEIF, AVIF, and WebP through JUMBF, and the binding includes a hash of the file's own bytes. That has a consequence people trip over constantly: a converted copy fails validation even when nobody edited the picture, because the bytes changed. Check for a manifest on the original before you convert anything, or you will destroy a valid credential and then wonder why the credential is broken.
Common Questions About HEIC, AVIF, and WebP Forensic Analysis
Can I run Error Level Analysis on a HEIC or AVIF file directly?
Does converting HEIC to JPEG destroy the metadata?
Is a WebP file with no EXIF suspicious?
Which format should I ask people to send me?
Where to Start on the Next File You Receive
None of this makes modern formats harder to analyze. It makes them different, and the difference is mostly that evidence has migrated out of the pixel data and into the container around it. Read the box tree or the chunk map first. Hash before you touch anything. Convert losslessly, name the tool you used, and remember that a flat ELA map on a converted file means nothing at all.
For your next file, try this: run exiftool with the -a -G1 -s -u flags on the original before you do anything else, and count how many items or chunks the container actually declares. Then convert a copy to PNG with heif-convert or avifdec and scan that PNG here rather than a JPEG version. You will get the metadata, AI detection, provenance and ELA layers reading from lossless input, and you will still have the original sitting untouched with its hash recorded, which is the part everyone regrets skipping.